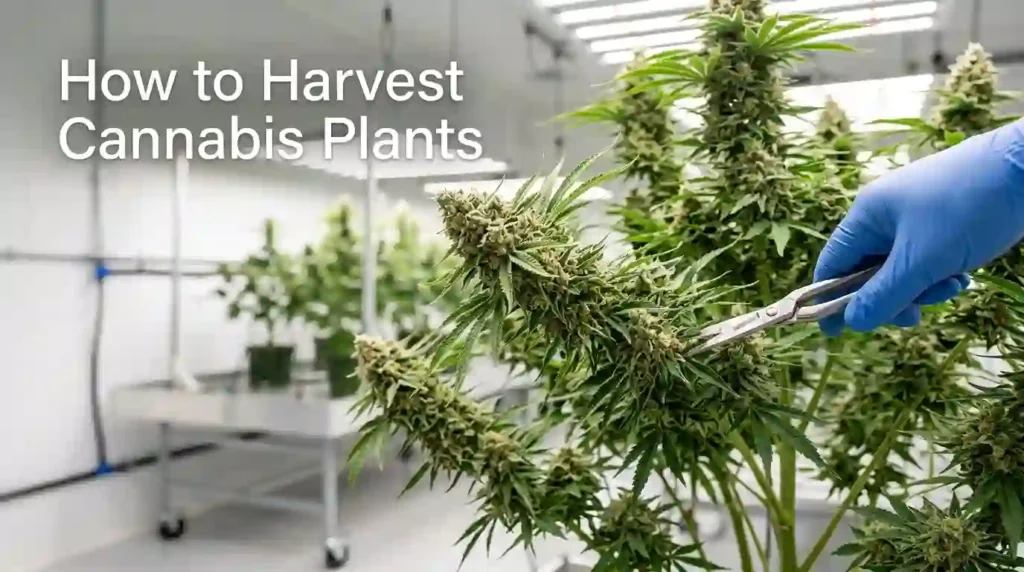
Harvesting is the final major step of the cannabis growing cycle, but knowing when to harvest and how to handle the plant afterward can make the process much easier.
This beginner-friendly guide focuses specifically on harvest readiness, harvesting basics, drying, trimming, curing, and common mistakes. For the complete journey from germination through flowering and harvest, see our Cannabis Growth Stages & Harvest Guide.
Educational note: Cannabis cultivation and possession laws vary by location. Follow the laws that apply where you live.
When Is a Cannabis Plant Ready for Harvest?
One of the biggest beginner questions is knowing when the plant has reached harvest time.
The most useful approach is to combine several visual indicators rather than relying on a calendar alone.
1. Check the Trichomes
Trichomes are tiny resin-producing structures found on cannabis flowers.
A jeweler’s loupe or digital microscope can make them easier to inspect.
As the plant matures, trichomes generally progress through several appearances:
- Clear: The plant is still developing.
- Cloudy or milky: Maturity is approaching.
- Amber: The plant is further along in maturity.
Trichome appearance is generally more useful than simply counting flowering weeks because plants can mature at different rates.
2. Look at the Pistils
Pistils are the hair-like structures that appear around the flowers.
As flowering progresses, many pistils change from white to darker orange, red, or brown and begin curling inward.
Pistils can provide a useful visual clue, but they should not be treated as the only harvest indicator.
3. Use the Expected Flowering Time as a Reference
Seed suppliers and breeders often provide an estimated flowering period.
Use that information as a general reference point, then check the actual plant for signs of maturity.
Environmental conditions and genetics can affect how quickly a plant develops.
Harvest Readiness Checklist
Before harvesting, look at the plant as a whole:
- Trichomes have progressed beyond the clear stage
- Pistils have noticeably darkened
- Flowers appear mature and developed
- The expected flowering period has been reached
- The plant shows consistent signs of late flowering
The important point is to observe the plant rather than relying on one signal alone.
For a broader explanation of flowering and harvest timing, see the Cannabis Growth Stages & Harvest Guide.
How to Harvest a Cannabis Plant
Once you’ve determined that the plant is ready, the harvest itself can be approached as a series of simple stages.
Step 1: Prepare a Clean Workspace
Before cutting the plant, prepare a clean and organized area.
Useful supplies include:
- Clean pruning scissors or shears
- Disposable gloves
- Clean trays or work surfaces
- Containers or materials for handling branches
- Labels if you’re working with multiple plants
Keeping tools and surfaces clean helps reduce contamination during handling.
Step 2: Decide How You Will Harvest
There are two common approaches:
Whole-Plant Harvest
The entire plant is cut and handled as one piece.
This can simplify the initial harvest process when the plant and available drying space make it practical.
Branch-by-Branch Harvest
Individual branches are cut and processed separately.
This can make handling easier, particularly when working with a larger plant.
Neither approach is universally best. The choice depends on the size of the plant, available space, and how you plan to handle the drying stage.
Step 3: Remove Large Fan Leaves
Large fan leaves can be removed during the initial harvest process.
Work carefully around the flowers and avoid unnecessarily disturbing the plant material.
Some growers remove larger leaves before hanging the branches, while others remove them during subsequent trimming.
Drying After Harvest
Harvesting doesn’t end when the plant is cut.
Drying is the next important stage because freshly harvested plant material contains substantial moisture.
A suitable drying environment should be:
- Dark
- Clean
- Well ventilated
- Stable rather than excessively hot or humid
Avoid direct sunlight and excessive heat.
Drying commonly takes several days to around two weeks, depending on the plant material and environmental conditions.
The goal is controlled, gradual drying rather than rushing the process.
Trimming the Flowers
Once the material has dried sufficiently, remaining small leaves around the flowers can be trimmed.
There are two general approaches:
Wet Trimming
Trimming is performed soon after harvest, before the material is fully dried.
Dry Trimming
Trimming is performed after drying.
The preferred approach varies among growers. What matters most is handling the material carefully and avoiding unnecessary damage.
Curing After Drying
Curing is a separate stage from drying.
After drying, properly prepared plant material can be placed into suitable airtight containers and stored in an appropriate environment.
During curing, moisture continues to redistribute within the material over time.
The process requires patience. Rushing from harvest directly to storage or use can negatively affect the final result.
Why Curing Matters
Curing gives the remaining moisture time to redistribute and allows the plant material to develop its final characteristics.
It is therefore useful to think of the process as:
Harvest → Dry → Trim → Cure → Store
Each stage serves a different purpose.
For the broader post-harvest overview, see the Cannabis Growth Stages & Harvest Guide.
Common Harvest Mistakes
Beginners commonly run into a few avoidable problems.
Harvesting Based Only on the Calendar
A breeder’s estimated flowering time is a reference, not a guarantee.
Checking Only the Pistils
Pistils can help indicate maturity, but they are more useful when considered alongside trichome development.
Rushing the Drying Stage
Drying too quickly can affect the quality of the finished material.
Storing Material Before It Is Properly Dry
Excess moisture during storage can create conditions where mold develops.
Skipping Curing
Curing takes patience, but it is an important part of the post-harvest process.
Using Dirty Tools
Clean tools and work surfaces help maintain better hygiene during harvesting and handling.
Frequently Asked Questions
How do I know when a cannabis plant is ready for harvest?
Look at several indicators together, particularly trichome development, pistil changes, and the expected flowering period. Avoid relying on the calendar alone.
Are pistils enough to determine harvest time?
Pistils are useful as a visual indicator, but they are less precise than examining trichomes. Using multiple indicators provides a better overall picture.
How long does drying take after harvest?
Drying time varies with the plant material and environment. It commonly takes several days to around two weeks, but conditions should determine when the material is ready rather than a fixed number of days.
What is the difference between drying and curing?
Drying removes most of the initial moisture after harvest. Curing is the slower process that follows drying and allows remaining moisture to redistribute over time.
Can harvesting and post-harvest processing be done in stages?
Yes. Plants or branches can be handled individually when that makes the harvest easier to manage.
Final Thoughts
A successful harvest starts with patience and observation.
Rather than relying on a single sign, look at the plant’s overall maturity and use trichome development, pistil changes, and expected flowering time together.
After harvest, give equal attention to the drying and curing stages. Rushing these steps can undermine the work that went into the plant before harvest.
If you want to understand the complete cannabis lifecycle from germination through flowering and harvest, continue with our Cannabis Growth Stages & Harvest Guide.
Sources & Further Reading: